

作成中のポータル・ボウ2のコマンドが流用できそうなので作ってみました。
注意:x軸の正方向に直線的に進むアスレチックを想定しています。z軸方向やx軸の負の方向に進む場合はアーマースタンドの設置方法と、tpコマンドの値を変えてください。また、ワールド上の飾りのアーマースタンドに影響は及ぼしません。
1. スコアボードを作る
今回使用するスコアを作ります。
/scoreboard objectives add distance dummy 進んだ距離/scoreboard objectives add number dummyスコアを画面右側に表示させます。
/scoreboard objectives setdisplay sidebar distanceスコアを非表示にしたい場合は下のコマンドを使ってください。
/scoreboard objectives setdisplay sidebar2. 距離を測る仕組みを作る
ダイアモンドのラインをアスレチックのスタートとして、画像のようにx軸上に2つのアーマースタンドを置いてください。アーマースタンドのx座標だけ使うので, y座標とz座標は好きなところでいいです。
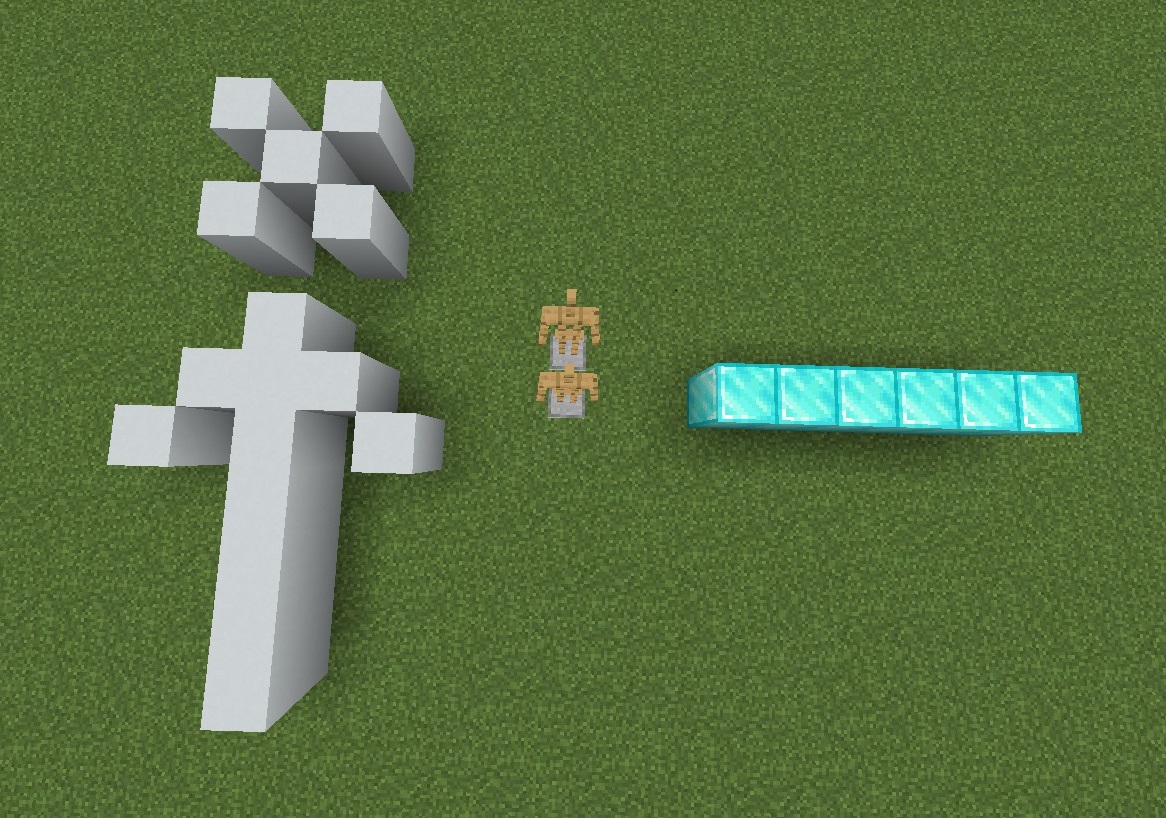
アーマースタンドのうち、ゴールラインに近いほうに”前”、スタートラインに近いほうに”後ろ”と名前を付けます。それぞれのアーマースタンドにスコアを付与していきます。
/scoreboard players set @e[name="前"] number 1/scoreboard players set @e[name="後ろ"] number 2下の画像のように, コマンドブロックを置きます。チェーンとリピートは常時実行に設定してください。
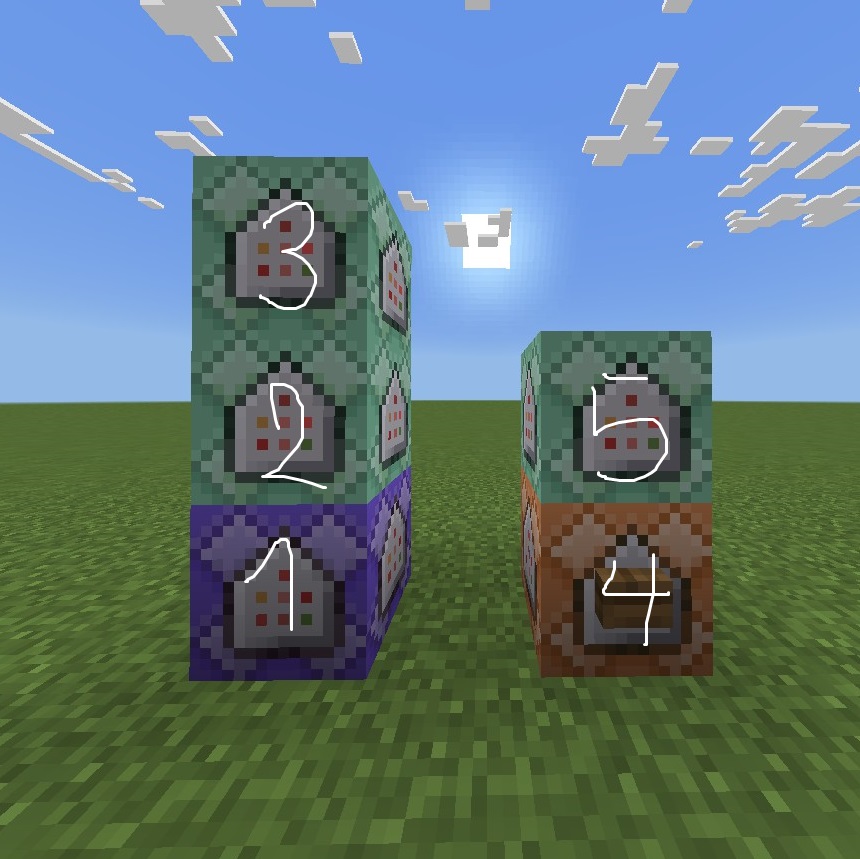
1番のコマンドブロック[上の画像を参照]にコマンドを書き込みます。
execute as @a at @s run scoreboard players operation @p number = @e[type=armor_stand, scores={"number"=1..}, c=1] number2番から5番のコマンドについて、大文字のXをアスレチックの距離に書き換えてください。
2番のコマンド
execute unless entity @a[scores={"distance"=X..}] if entity @a[scores={"number"=1}] run scoreboard players add @p distance 13番のコマンド
execute unless entity @a[scores={"distance"=X..}] if entity @a[scores={"number"=1}] as @e[type=armor_stand, scores={"number"=1..2}] at @s run tp @s ~1 ~ ~3.測った距離をリセットする仕組みを作る
4番のコマンド(Xは2つあります!)
execute if entity @a[scores={"distance"=X..}] as @e[type=armor_stand, scores={"number"=1..2}] at @s run tp @s ~-X ~ ~5番のコマンド
execute if entity @a[scores={"distance"=X..}] as @e[type=armor_stand, scores={"number"=1..2}] at @s run scoreboard players reset @a distance
4. 使い方
スタートラインからゴールラインに向かうと、アーマースタンドが動いて、移動距離が増えているのがわかると思います。
完走したあとに4番のコマンドブロックに信号を送ると距離がリセットされます。リセットするときは、必ずスタート地点にプレイヤーがいるときに行ってください。

コメント